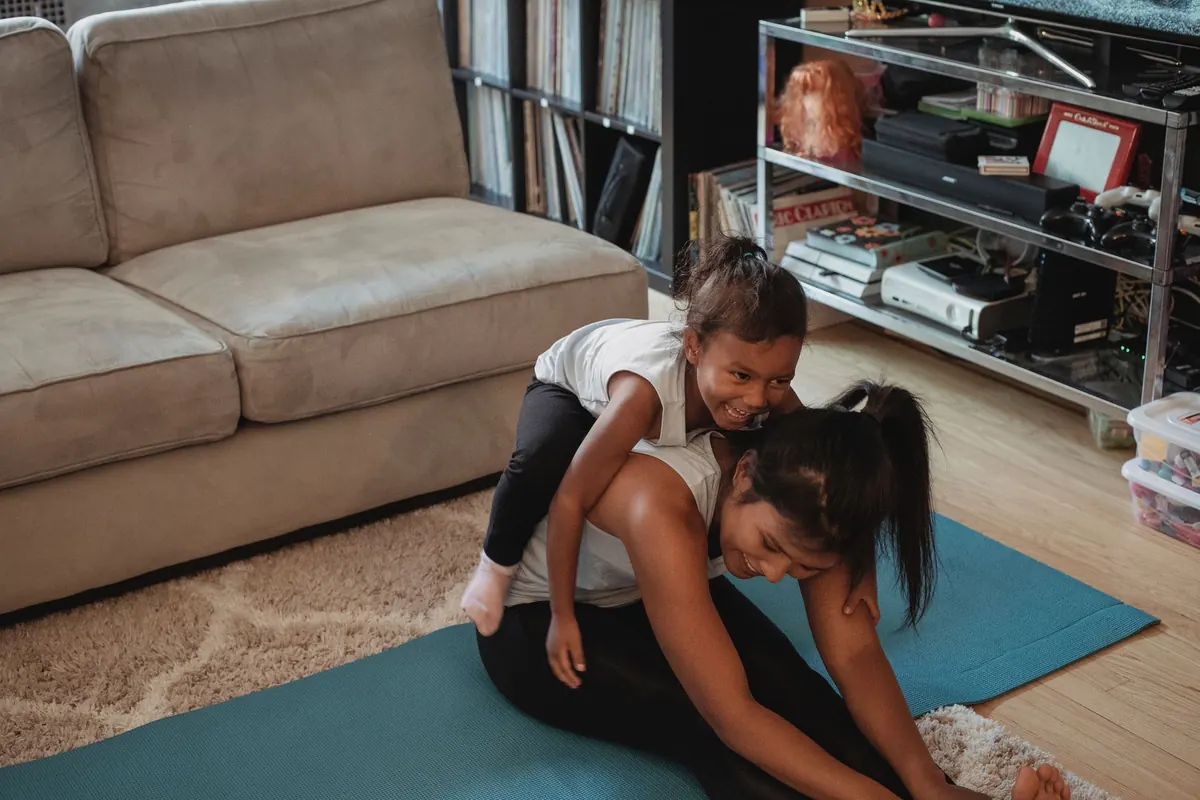
You do not need a rack of dumbbells to get stronger. You need a floor, a wall, a sturdy chair, and about twenty-five minutes, three times a week. Bodyweight training works because it asks your muscles to move your own mass against gravity, which is the same job a barbell does — just with fewer knobs to adjust. The part most people get wrong is progression. If you do the same eight push-ups forever, you will get good at eight push-ups and then stop improving.
This plan covers four weeks and twelve sessions. The goal is not a transformation photo. It is to build the habit and the base of strength that makes week five noticeably easier than week one. Every exercise has an easier and a harder version, so you can adjust to how you actually feel on the day. If you have an injury, a heart condition, or you have been inactive for a long stretch, check with a doctor or physiotherapist before you start.
Spend ten minutes testing where you are now. You need three numbers, and they should be honest rather than impressive.
Keep those numbers somewhere you will see them. In four weeks you will repeat the test, and the difference is the only progress report that matters.
Three sessions a week, with at least one day between them. Monday, Wednesday and Friday suits most people; Tuesday, Thursday and Saturday works just as well. Each session takes 20 to 30 minutes including a warm-up, and each one has a different focus so your muscles get roughly 48 hours before they are asked to work hard again.
Warm up for five minutes before every session: march in place, roll your shoulders, do ten slow bodyweight squats and a few arm circles. It is not glamorous, and it is the reason your shoulders will not complain halfway through Session 2.
Two sets of each exercise in Session 1 and Session 2. In the circuit, do two rounds instead of three. Pick a rep count you could beat by two or three — if 12 squats is your maximum, do 8. The first week is about learning the positions and finding out which muscles are honest with you and which are not. Expect your legs to be sore on Tuesday. That is normal and it fades.
Add a third set to Sessions 1 and 2, and a third round to the circuit. Keep the same exercises. This is the week most people's enthusiasm dips; if you only manage two sets on a given day, that session still counts. Consistency beats intensity in the first month, and it is not close.
Finish every set feeling like you had two more good reps in you. A set that ends because your form broke is a set that ended one rep too late.
Muscles adapt to tension, not to good intentions. Since you cannot add weight, you add difficulty in other ways. Pick one of these per exercise each week, not all of them at once:
Keep the volume from week 2 and add one progression to your two weakest exercises. Do the same in Session 3. If push-ups from the floor are still out of reach, move your hands to a lower surface — a sofa arm instead of a table top — and keep going.
Add a progression to the remaining exercises and one extra round to the circuit. Then repeat the three-number test on a rest day, not straight after a session. Write the new numbers next to the old ones.
Five cues cover most of the plan, and they are worth repeating quietly to yourself mid-set.
If something pinches, stings, or feels wrong in a joint rather than a muscle, stop that exercise and swap in an easier version. Sharp pain is information, not weakness.
Rest does not mean lying still, and it does not mean a hard run either. On your four non-training days, walk for 20 to 40 minutes, spend five minutes on hip and shoulder mobility, and go to bed half an hour earlier than usual. Muscle is rebuilt between sessions, largely while you sleep, and a body that is chronically short on sleep will not get stronger no matter how clean the push-up form is. If you are genuinely wrecked after week 2, take an extra rest day. The plan will still be there.
Repeat the four weeks with one change: start where you finished. Use the harder variations you worked up to, keep adding one progression at a time, and re-test every fourth week. If you eventually want more resistance, a single resistance band or a loaded backpack will take you a long way, but you need neither to keep improving for months. The routine that works is the one that survives a bad week, a busy week, and a week when you cannot be bothered. Three short sessions, written down, repeated — that is the whole method.
Photo: Kamaji Ogino / Pexels